Pages

Showing posts with label DIY. Show all posts

Wednesday, May 21, 2014

My Little Container Garden

Growing up, my mom planted a garden.
Dad or Grandpa would come disk it or field cultivate it with the tractor and then we'd plant it.
Sweet corn, tomatoes, peppers, and green beans were a given.  Always.
I hated planting it, but what I hated even more was pulling weeds.  AH!
I always said that I would NOT be having a garden when I grow up.

Ya know what I think?
I think that all the things you say you're not going to do as a child, you end up doing and ENJOYING it!
I said I would not cook.  I would not plant a garden. And I would not have boring walls in my house.
Well...all three things have happened.  And yes, I like them.

When I moved into my own place, I wanted to spruce the place up, so I got a pot and some flowers.
Then when we moved to St. Louis, my mom helped me pick out flowers to plant at our apartment.  
I wanted to try container gardening, but we didn't have enough sunlight or space.
So I waited until we had a house.
Now I think I bug my husband with all my ideas of things I want to dig up and plant. :)

I went home in April for Easter and my mom took me over to the greenhouse in the country that we always go to.  
Ever since I was introduced to Betty Rocker, I started cooking with fresh herbs.
I decided that I wanted to grow some herbs in my container garden, so I picked some up at the greenhouse, along with tomatoes and peppers.

I went to Menard's one evening after work and picked up some pots, soil, and a few flowers.


We have this rock in the front of our house that is maroon...and matches our shutters.  
I actually want to get rid of it and replace it with mulch, but I assume that project will happen next year.
Anyway, I stole some of the rock and put it in the bottom of my pots.  I just wanted to make sure it would drain well.  It's not necessarily needed, but what the heck...


Then I added the soil to the pots.


Here it is after I got all the plants planted!


And here it is today:


I've got 4 Roma tomato plants, 4 plants of red peppers, and 4 plants of yellow peppers, a pot with sage and thyme, a pot with 4 basil plants, a hanging pot of 4 cilantro plants, and two pots of flowers and a boot (soon to be 2 boots) of strawberry plants.

I am very excited to hopefully make tomato sauce and salsa this year, as well as use the herbs to cook with! :)
Oh and I just got the tomato cages today...I color coordinated them with my pots.  I'm cool like that! haha!
I'm pretty proud of this cute little container garden.  I can't wait to reap the harvest!

Do you have a garden?  What have you planted in it?

Wednesday, January 23, 2013

Refined

While rummaging through thrift stores and antique stores, I've heard so many people say "I gonna do...this...with it," with whatever treasure they've found.  I'm just in awe of how people can see what it could be instead of just seeing it as it is.  I'm not like that...maybe it's because I'm left-brained. 


God can see it...and for that, I'm so thankful.
There's a passage in 1 Samuel that talks about finding a new King.
Samuel would be anointing the man that God had indicated to him.
Each man that was brought before Samuel wasn't the man that God wanted.
When they brought the boy from the field, the Lord told Samuel that he was the one.


In the chapter 16, verse 7b it says,

"But the Lord said to Samuel, 'Do not consider his appearance or his height, for I have rejected him. The Lord does not look at the things man looks at. Man looks at the outward appearance, but the Lord looks at the heart.'"


God sees what we can be.

He sees what is inside of us.
He sees our potential.
Sometimes it takes a little refining...tests, trials, struggles.
God will use whatever it takes for us to grow closer to Him.


Psalm 66:10--

For you, God, tested us;

    you refined us like silver.


Sometimes I just don't get it.
Sometimes I totally miss the mark.
Sometimes it takes me more than one time in the same trial.


But in the end, what I learned is a valuable lesson.
What I learned can help refine me into that beautiful person that the Lord sees in me...even when no one else can see it right now.


And those lessons...the ones that help make me more beautiful...
Those will make gorgeous accessories for my personality.


2 Corinthians 5:17--
"Therefore, if anyone is in Christ, he is a new creation; the old has gone, the new has come!"

**P.S.  This was an old picture frame that I found at Goodwill on Saturday...but I didn't see it as a picture frame. :)

Sunday, January 20, 2013

Scrappy Coasters

I don't get to craft or sew much during the week since I work full time.
So on my weekends, I try to get something done...especially while football is on. :)
Today I sat down at the computer to see what I could make with the fabric I already have on hand.  Of course, that's where Pinterest comes in. 

I had already pinned some things to make with fat quarters, one of those things being these coasters.  They seemed simple, and I didn't need much fabric, which is good because I only tend to purchase fat quarters or remnants.  So I went to my fabric stash and picked out my fabric and 15 minutes later, I had one already finished!!

What you need:

  • Sewing machine and thread
  • Rotary cutter, mat, and ruler (not necessary, but highly suggested)
  • 2-3 prints of fabric
  • Iron/ironing board
  • Cotton quilter's batting or felt
  • Pins
  • Scissors
What you do:
  • Pick out your fabric and cut them into 4" x 4" squares.

  • Next, choose which pieces will go on the top of the coaster.  Iron those in half.


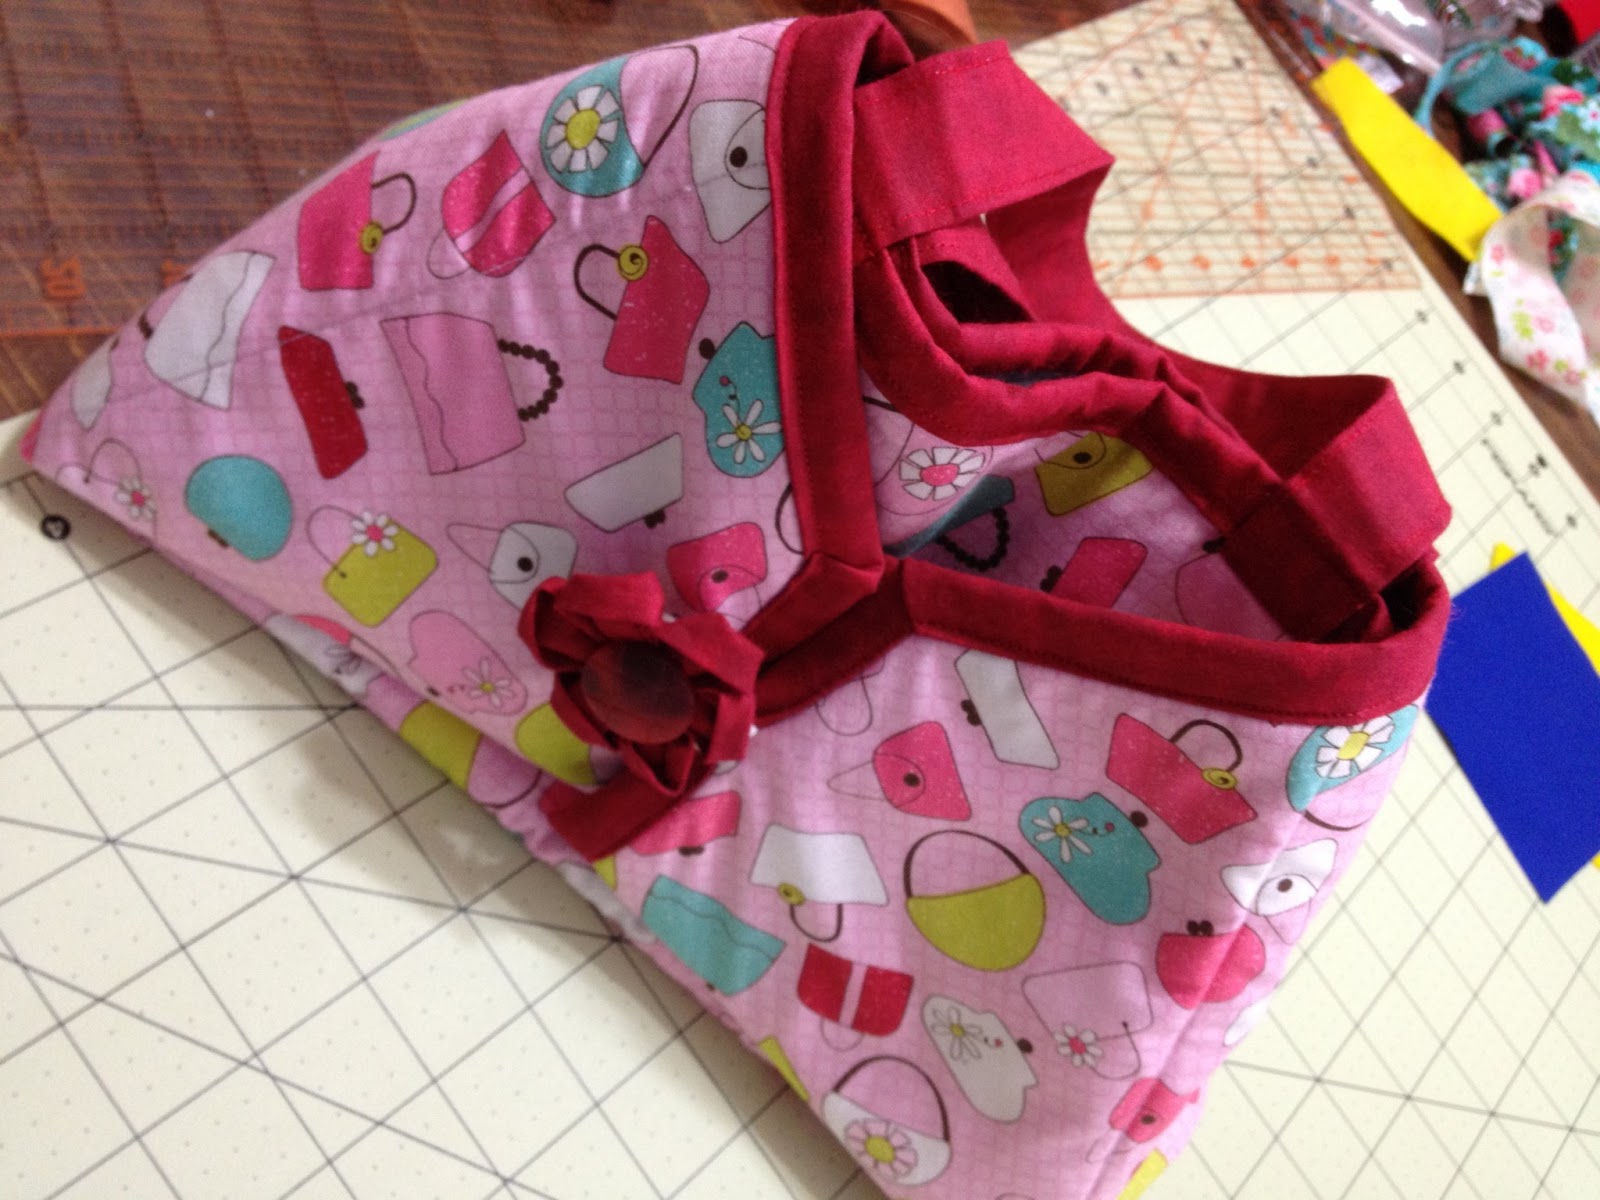
 Isn't this the cutest "ironing board" you ever did see? My mom and dad gave it to me for Christmas!  It folds up into a cute little purse!

  • Next, layer the pieces, keeping the top pieces close together in the middle.  Layer the felt or batting (I used felt) on bottom, the full square (which will be the bottom of the coaster) in the middle, and the top pieces on top. 


  •  Pin to keep in place.


  • Next, sew around the entire square.  It doesn't even matter what color of thread you use...you won't see it! (I used pink because it was still threaded in my machine.)


  • Cut the corners off.


  • From the middle, turn the coaster inside out.  I used a crochet hook to poke my corners out.


Wa-la!! You're finished!  Now you have super cute coasters for your home! :)

Friday, January 18, 2013

The Date Box...Questions Answered

One thing that I have had tons of questions on is the date box that I created for my husband last February.  I'm bringing back a portion of this post from last year.

Let me preface this by saying {for those of you who don't know} that we lived in Oklahoma City from January-March of last year.  We then moved to St. Louis at the end of March.  The pictures were taken from my iPhone 3GS because my camera was packed away in storage somewhere...and I hadn't upgraded to the 4S yet.


>>>>>>>>>><<<<<<<<<<

I got the idea from this blog.  I thought it was really neat, so I thought I could do it for my husband.  I call it the Date of the Month Club.  I started out just writing a list of things we could do.  It was hard to really plan, because at the time we had no idea where we would be for the month of March. (For those of you who don't know, March 29th is Tyler's last day in OKC.)  Planning was actually harder than it sounds because we haven't actually lived in STL yet either!  With help from my friend, Kelsey, (by the way, if I forgot to send you a thank you, THANK YOU!!!), she gave me some ideas of things to do in the area.


Then I cut up little cards with the month on them.  These are for clues.


I wrote each clue on the card and bought the needed accessories to go with each date to put in the envelope.  These are pre-planned, and mostly pre-paid.  I also planned some weekend getaways to use throughout the year.


I wrote a card introducing him to his gift.  I told him what he got and how to use each thing.  Then, I wrote a Date Agreement Card.  He had to agree to those things, sign the card, and return to to me in exchange for some Romance Reward Tickets.  He also got a special bag of chocolate caramel (because that's what I like) in exchange for real kisses.


I searched high and low for a box to put it all in, but I finally found one at Hobby Lobby (my most favorite craft store)!  AND it was half off!!! 


I jazzed up the envelopes a little bit as well.  I didn't like the boring yellow, but I didn't want to decorate them a whole lot since they would most likely just be thrown away.


I was really pleased with how it turned out, and I really hope that Tyler likes it as much as I do.  I am super excited about our date nights for the next year!!  The best part is that each one isn't super expensive.  They are interesting and cheap! 


Some frequently asked questions that I've received:

1.  What kind of dates did you plan?
          - I went with dates that I knew we could do.  I planned dates that were cheap or free.  I kept a running list of all the places that I thought were reasonable and planned by the month {weather-wise}.  If the date included a meal, I purchased a gift card to put in the envelope so Tyler could have some sort of a clue as to where we'd be eating.  

Some examples of the date ideas (some that we did):  
  • the zoo (free) with a Subway picnic lunch--the zoo here allows you to bring food in.
  • the science center (free) with a meal at Steak 'n Shake (which was right down the road)
  • bowling
  • mini-golf
  • a slumber party complete with pizza and games (this was my favorite date night!)
Be creative.  Research your area if you're unfamiliar with the activities around you.  I did a week's worth of research because I had absolutely no idea about the area we were in or we would be moving to.  It would probably be easier if you've been in the area for a while. :)

2.  What was in your agreement?
          - I wanted one night a month where we could just focus on each other.  One of the big things was that cell phones weren't allowed.  They had to be shut off.  Another thing was that the date card would be given on the 1st of the month, and we had to put it on the calendar (to make sure it would get done).  Also,  the gift cards had to be used on the date...they couldn't be used elsewhere.  It was full of things that allowed us to make sure we completed the activity.  Oh, and no peeking allowed!

3.  What are romance reward tickets?
          - These were extra little things that I created to make it extra special.  For example, one of the tickets was a "Yes Day."  He could redeem the ticket and I had to say "yes" to whatever he wanted to do.  If he wanted to go shooting, I said "yes."  If he wanted his favorite meal, I said, "yes."  It's little things like that, that help make him feel special.

4.  What are the vacation cards?
          - These are also an added perk.  They aren't supposed to be expensive, just little mini-getaways during the year when you feel like you need some time together.  

Some examples could be:
  • A Bed and Breakfast nearby for a night or weekend
  • A night in a downtown hotel in your city
  • He chooses and plans
These are just few of the questions that I've been asked.  If you have more questions, please don't hesitate to ask!  My email address is on the "contact me" tab or you can leave a comment and I will get back to you!

And if you're just looking for a nice Valentine's Day gift that you don't have to plan for, I have some Date Night Jars in my shop...with the dates already in them!  Check them out!!

Sunday, January 13, 2013

DIY Napkins with Mitered Corners

I know this is a little late...
a couple seasons behind,
but they do say, "Better late than never."

Back in May-June, I went on Girls' Trip 2012.
We stopped in Lyons, Colorado to look in a quilt shop.
They had tons and tons and tons of fat quarters on clearance.
So here I was, didn't even own a sewing machine, and I bought 8 fat quarters.
Now what the heck was I going to do with them?


Well, in August I decided to go ahead and buy Sally.
I was pretty excited to teach myself how to sew again.
I found this tutorial on Pinterest.
I thought it looked easy enough to try.
Besides, we had already invited my family to come up for Thanksgiving.
It gave me something to work on for that event.
So I'm going to share with you how to make these awesome napkins! :)

What you need:

  • Fabric (I used fat quarters and cut them to 18" x 18")
  • Sewing machine
  • Matching thread
  • Iron/ironing board
  • Pins
  • Scissors
  • Rotary cutter, mat, and ruler (not necessary, but HIGHLY recommended) 
What you do:
First, make sure you wash and dry your fabric before you start.  This allows you to shrink it before you start on your project.

Next, iron the fabric.  Mine came out of the dryer very wrinkly.  


Then I cut my fat quarters to measure 18" x 18".  (You don't have to have a rotary cutter, mat, and ruler but I would highly suggest one.  It makes it SO much easier.)  

You can also make them as large or as little as you want them.  Make sure to add 2 inches to the size of what you want your finished product to be (for example, for 20" napkins, you'll want to cut your squares to be 22" x 22").

Next, fold each side of the napkin 1 inch and press.  You will want to fold the right side towards the right side (so that the wrong side is facing out...as seen in the picture).


Next, fold the corners in to where the creases meet.  Press.


Fold the crease that you just created, in half.  Make sure they line up together (right sides facing each other).  I used a pin to keep it lined up for my first couple.  After I got the hang of it, I didn't need the pins anymore.


Stitch along that crease that you just made.  Make sure to leave 1/4" opening along the raw edge of the fabric.  Also, backstitch at the beginning and end (this is to reinforce the seam).  Trim the edge at the angle, leaving 1/4".  Trim the excess thread.


Next, press open that seam that you just sewed.  Press the 1/4" open along the edges of the napkin.  (The seam in the picture below should be pressed open...too bad I took a picture of my goof up instead of what it really should look like). :)


 Turn the napkin right side out.  You will want to use something to make the corners pointed out (I used the end of my seam ripper).


Press the edges and pin in place. 


Sew around the napkin to hem it in place.


TA-DA!!! You're finished!! :) 
Now you have gorgeous napkins to use for whatever holiday or event you'd like! 
These were my first sewing project since 2nd grade...so they're really not too difficult at all!
To see my napkins "in use," see our Thanksgiving post.


Happy Sewing!!